Change Custom RPC Nodes to Fix Failed Airdrop Claims
Airdrop claim windows create a very specific kind of market stress: not price volatility first, but infrastructure volatility.
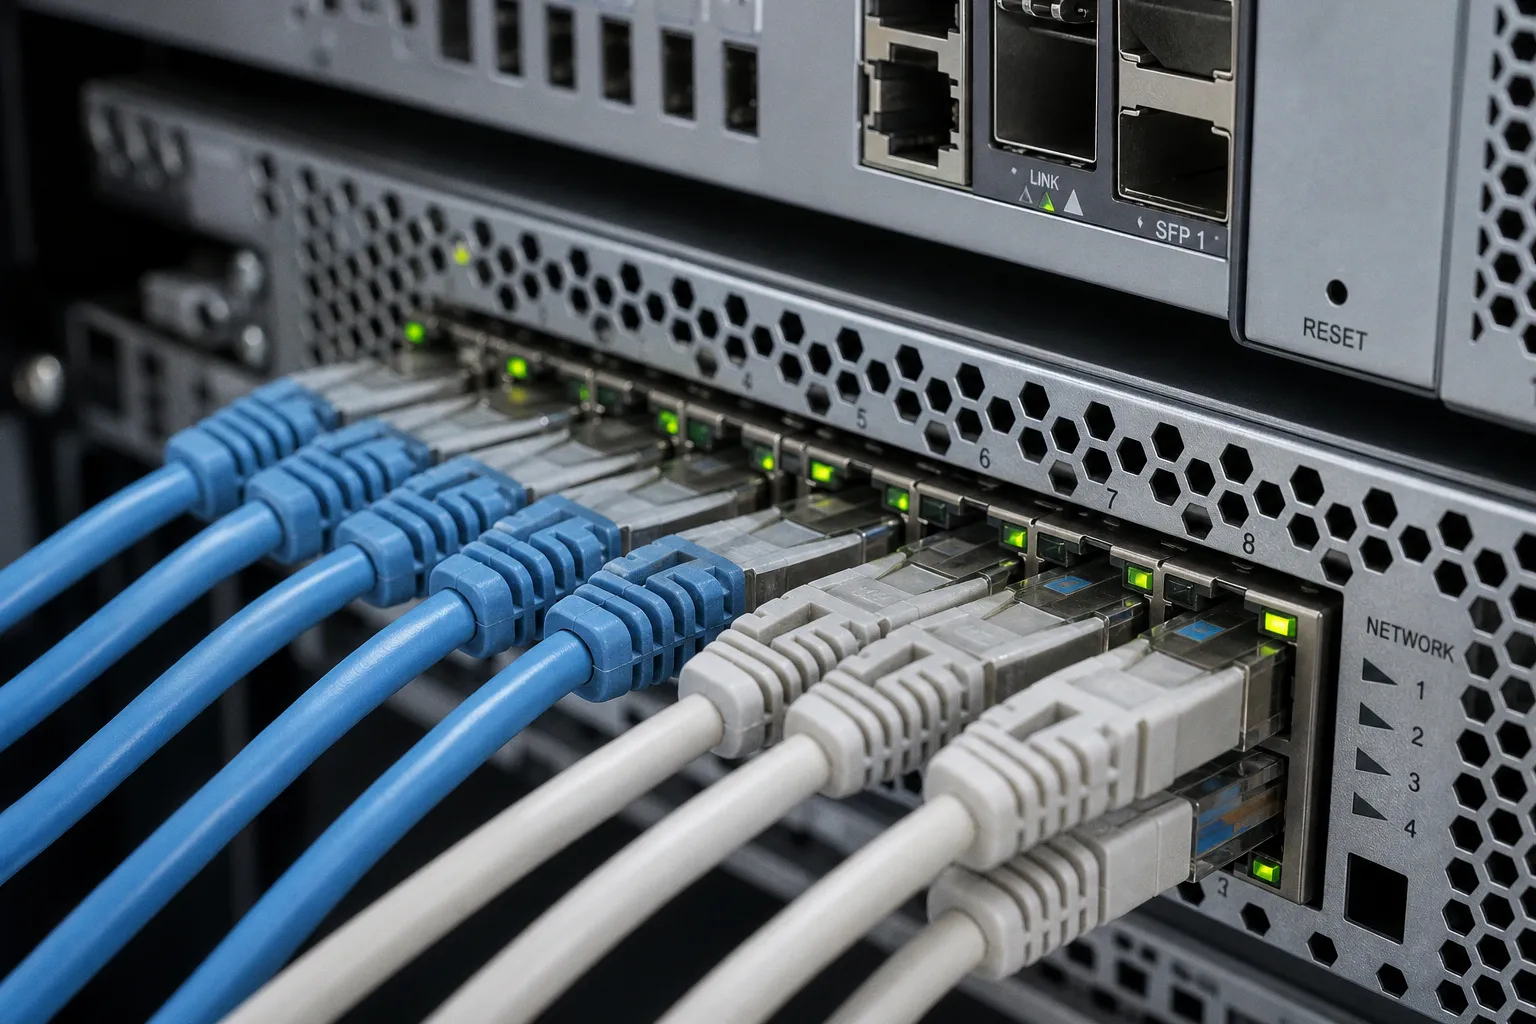
That is why knowing how to check and change custom RPC nodes to fix failed airdrop claims is not a cosmetic wallet tweak. It is execution infrastructure. In a crowded claim, the difference between a default public RPC and a dedicated endpoint can be the difference between a clean settlement and a loop of pending transactions, rejected simulations, and wasted gas.
Why public RPCs collapse under airdrop traffic
An RPC node is the access layer your wallet uses to read blockchain state and submit transactions. When MetaMask shows your balance, estimates gas, simulates a claim, or broadcasts a signed transaction, it is not speaking directly to some abstract “Ethereum” or “Arbitrum” cloud. It is querying an RPC endpoint.
For related context, see Binance Teams Up With Anchorage Digital to Boost Institutional Crypto Custody.
During normal market conditions, default public RPCs are usually adequate. They handle wallet reads, swaps, approvals, and contract calls with tolerable latency. During a high-demand airdrop, the utilization rate of those public endpoints can spike hard. Thousands of claimants hit the same contract, the same claim page, the same chain, and often the same default RPC infrastructure within minutes.
The failure mode is predictable:
- The claim site calls the contract to verify eligibility.
- Wallets request gas estimates at the same time.
- Users repeatedly refresh and resubmit after seeing errors.
- Public endpoints start rate-limiting requests.
- Some transactions never reach the mempool cleanly, or they are simulated against stale state.
- Wallets return vague errors such as “execution reverted,” “gas estimation failed,” or “transaction underpriced.”
The airdrop contract may be functioning exactly as designed. The bottleneck may be the node path.
A failed claim is not automatically a failed allocation. First separate contract logic from infrastructure congestion.
This matters for portfolio execution. A retroactive token distribution is usually time-sensitive. Liquidity depth is often thin in the first hours, price discovery is chaotic, and the effective value of the claim can decay as sell pressure arrives. If your transaction flow depends on overloaded public infrastructure, you are not just waiting. You are accepting execution risk.
Identifying transaction failures caused by rate limiting
Before changing settings, classify the failure. Custom RPC nodes help when the issue is network access, gas estimation, or transaction propagation. They do not fix an ineligible wallet, a spent allocation, insufficient gas balance, or a paused claim contract.
The practical test is not philosophical. Look at the error pattern.
| Symptom | Likely cause | Will changing RPC help? |
|---|---|---|
| “Gas estimation failed” while other users are claiming | Public RPC returning poor simulation data or stale state | Often, yes |
| “Execution reverted” before wallet submission | Could be eligibility logic or bad RPC simulation | Maybe; verify contract state |
| Transaction pending for a long time but not visible on explorer | Broadcast issue or weak RPC propagation | Often, yes |
| Claim page cannot read allocation but wallet is eligible elsewhere | RPC read congestion or frontend query failure | Often, yes |
| “Insufficient funds” | Not enough native token for gas | No |
| “Not eligible” from the contract | Wallet not included in allocation data | No |
| Claim already completed | Allocation spent | No |
The key distinction is whether the failure occurs before transaction broadcast, during gas estimation, or after submission. If the block explorer never sees the transaction hash, your wallet likely failed to broadcast properly. If the explorer shows the transaction and it reverted on-chain, changing RPC after the fact will not reverse that transaction. It may help your next attempt, but it does not rewrite settlement history.
For a serious airdrop farming strategy, this classification should be part of pre-claim discipline. The same way a trader checks liquidity depth before entering size, a claimant should check RPC quality before sending repeated contract calls into a congested network.
There is a useful analogy outside crypto: preventive systems beat emergency improvisation. The same operating logic appears in fields like preventive health and lifestyle planning, where avoiding the failure state is cheaper than reacting after the damage is visible. In airdrop execution, your RPC endpoint is part of that prevention layer.
Step-by-step: configure a custom RPC endpoint in MetaMask
MetaMask allows users to add or edit network settings manually. The required fields are basic but unforgiving: RPC URL, Chain ID, currency symbol, and preferably a block explorer URL. If one field is wrong, the wallet may connect to the wrong network, show misleading balances, or fail to submit transactions.
Use reputable providers only. Alchemy, Infura, QuickNode, and Ankr are common choices because they operate reliable endpoint infrastructure and offer both free and paid tiers. A paid endpoint is not automatically necessary, but during a heavily farmed airdrop, a private or dedicated endpoint can materially improve reliability.
1. Get the correct network parameters
Before touching wallet settings, collect the network details from a trusted source: the official chain documentation, the RPC provider dashboard, or a widely used verified network directory.
You need:
- Network name: A human-readable label, such as Arbitrum One, Base, Optimism, Polygon, or BNB Smart Chain.
- RPC URL: The endpoint address supplied by your provider.
- Chain ID: The numeric identifier that tells the wallet which chain it is using.
- Currency symbol: The native gas token symbol, such as ETH, MATIC, or BNB.
- Block explorer URL: Optional in some wallet interfaces, but operationally useful when tracking claims.
Do not paste random RPC URLs from social feeds, Telegram messages, or airdrop comment sections. Unknown endpoints may log metadata, degrade transaction reliability, or create a man-in-the-middle risk. A custom RPC is not inherently safer than a public RPC. It is safer only when the provider is legitimate and the configuration is correct.
2. Open MetaMask network settings
In MetaMask, go to:
1. Open the wallet extension or mobile app.
2. Select the current network dropdown.
3. Choose the option to add or manage networks.
4. Go to settings for networks.
5. Select Add Network or manually add a custom network.
6. Enter the RPC URL, Chain ID, currency symbol, and block explorer URL.
7. Save the network.
8. Switch to the newly configured network before returning to the claim page.
The exact interface can shift slightly by MetaMask version, but the logic is stable: Settings, Networks, Add Network, then the required network fields.
3. Reconnect the claim site
After changing RPC nodes, do not simply hammer the same claim button again. Reset the execution path cleanly.
A disciplined sequence looks like this:
1. Disconnect the wallet from the claim site.
2. Refresh the claim page.
3. Confirm MetaMask is using the new custom RPC network.
4. Reconnect the wallet.
5. Let the site re-read eligibility and claim status.
6. Simulate or estimate gas again.
7. Submit only after the wallet returns a coherent gas estimate.
This prevents the frontend from relying on stale session data. Airdrop pages often cache eligibility, wallet state, or contract reads. If the previous RPC was returning bad data, refreshing the full connection gives the new endpoint a clean read.
4. Track the transaction on the explorer
Once submitted, monitor the transaction hash on the chain’s block explorer. If the hash appears quickly, your broadcast path is functioning. If the wallet shows pending but the explorer does not recognize the hash after a reasonable interval, the issue may still be propagation.
In that case, do not blindly submit ten more claims. You risk nonce conflicts, replacement transactions, and avoidable gas spend. Instead, check the wallet activity queue, confirm nonce status if you know how to do so, and only then decide whether to speed up, cancel, or resubmit.
Using Chainlist without outsourcing your judgment
Chainlist is widely used because it lets users add EVM-compatible network configurations to wallets with less manual input. It is convenient during a claim event, especially when users are switching between Layer 2 networks and appchains. The benefit is speed; the risk is complacency.
A strong workflow is to use Chainlist as a convenience layer, not as a substitute for verification.
How to use it conservatively
1. Search for the target network by name.
2. Confirm the Chain ID matches the official documentation.
3. Review the listed RPC options.
4. Prefer known providers or official endpoints where available.
5. Connect wallet only after checking the network details.
6. Add the network.
7. Test with a read-only action before sending a claim transaction.
The Chain ID is the anchor. Network names can be duplicated or spoofed in other contexts, but the Chain ID must match the chain where the airdrop contract is deployed. If the claim is on Arbitrum, claiming through a similarly named but incorrect network configuration will not work. If the claim is on Base, your Ethereum mainnet RPC will not settle the transaction. That sounds elementary, but under claim pressure, many failed attempts are basic routing errors dressed up as mysterious DeFi problems.
Convenience is acceptable. Blind trust is not. A wallet network change is an execution decision.
Chainlist is particularly useful for long-tail EVM networks where users do not already maintain clean wallet configurations. For major chains, I still prefer pulling parameters from official documentation or from a provider dashboard, then confirming against a second source. That extra minute is cheap relative to a high-value claim.
Selecting reliable RPC providers for high-demand events
The provider choice should be matched to the expected load and your claim value. If the airdrop allocation is trivial, a free tier from a known provider may be rational. If the allocation has meaningful expected value, a paid or dedicated endpoint can be justified as execution insurance.
Think of RPC selection the same way you would think about exchange routing. You are not paying for glamour; you are paying for lower failure probability, better uptime, and more consistent reads under stress.
| Provider type | Best use case | Trade-off |
|---|---|---|
| Default public RPC | Low-value transactions, normal network conditions | Highest congestion risk during major claims |
| Free tier from Alchemy, Infura, QuickNode, or Ankr | Moderate use, occasional claims, better reliability than defaults | Rate limits still apply |
| Paid dedicated endpoint | High-value claims, active farming wallets, repeated contract interactions | Direct cost; must manage credentials |
| Official chain RPC | Basic access and compatibility | Can be heavily congested when everyone uses it |
| Unknown community RPC | Avoid for claims involving value | Security and reliability risk |
The ROI calculation is straightforward. Suppose your expected claim value is $800 and a private RPC plan or short-term paid endpoint costs a modest fraction of that. If it materially reduces failed attempts, stale reads, and missed early liquidity, the cost is not overhead; it is execution spend.
But avoid overfitting. An RPC upgrade does not create eligibility. It does not improve tokenomics. It does not protect you from a bad vesting schedule, shallow liquidity depth, or a claim contract that reverts because your wallet is not in the Merkle tree. It simply improves the route between your wallet and the chain.
What to look for in a provider
For airdrop claims, prioritize reliability over feature count. The practical criteria are:
- Supported chain coverage: The provider must support the exact network where the claim contract lives.
- Clear rate limits: Free tiers are fine only if the request ceiling is transparent enough for your expected activity.
- Low operational friction: You should be able to create an endpoint quickly and paste the RPC URL without complex deployment work.
- Provider reputation: Use established infrastructure firms rather than anonymous endpoints.
- Dashboard visibility: Request metrics and error logs help distinguish wallet mistakes from provider throttling.
- No careless key exposure: Treat endpoint URLs with credentials as sensitive operational data.
Latency metrics vary by region, chain, provider, and moment of load. Do not assume one provider is universally fastest for every airdrop. What matters is whether your endpoint remains usable when public endpoints are saturated.
Distinguishing congestion from eligibility errors
The most expensive mistake is repeatedly resubmitting a claim that is structurally invalid. A custom RPC can make a valid claim go through; it cannot convert an ineligible address into an eligible one.
Before burning more gas, test the claim logic.
Check whether the wallet is eligible
Use the official claim interface first. If the project provides a verifier or allocation checker, confirm the exact wallet address. Be careful with delegated wallets, Safe addresses, exchange deposit addresses, and wallets used only for related activity. Retroactive token distributions often depend on a snapshot. If the qualifying activity happened from another address, your current wallet may show zero allocation.
If the interface says the address is not eligible and the contract simulation also reverts, changing RPC nodes is unlikely to help. If the interface inconsistently shows eligibility — eligible on one refresh, unavailable on another — then RPC read instability becomes more plausible.
Check whether the claim is already spent
A wallet that already claimed will often produce a revert if it tries again. This can happen when a prior transaction succeeded but the frontend failed to update. In that case, the user interprets the stale interface as a failed claim and submits again.
The block explorer is the source of truth. Search your wallet address and look for successful interactions with the claim contract. If the token was transferred or the claim state was marked, the allocation is done. Do not pay gas to rediscover that fact.
Check whether you have enough native gas token
Airdrops on Layer 2 networks still require native gas. If the wallet has the claim allocation but lacks ETH, MATIC, BNB, or the relevant gas token, the transaction will not execute. Switching RPC endpoints will not fund the wallet.
For active claim wallets, I prefer maintaining a small operational gas buffer on each chain used for farming. Not enough to create custody risk, but enough to avoid forced bridging during peak congestion. Bridging into a chain after the claim opens can be its own bottleneck.
Check whether the contract is paused or overloaded
Some teams pause claims after discovering bugs or extreme load. Others throttle frontend access while the contract itself remains callable. This is where the distinction between frontend failure and contract failure matters.
If the official interface is down but the contract is live, advanced users may interact through verified contract methods. That is outside the scope of a basic wallet RPC change, and it carries higher execution risk. If you cannot read the method parameters confidently, do not improvise with live funds.
A practical troubleshooting sequence
When a claim fails during a congested airdrop, use a controlled sequence rather than random repetition.
1. Capture the error message. Do not close the wallet popup reflexively. “Gas estimation failed” and “not eligible” point to very different problems.
2. Check the transaction hash. If there is no hash, the transaction likely did not broadcast. If there is a hash, inspect it on the explorer.
3. Confirm network and Chain ID. A wrong network configuration invalidates the rest of the analysis.
4. Verify wallet eligibility. Use the official checker or claim interface; confirm the exact address.
5. Check native gas balance. Insufficient gas is not an RPC issue.
6. Switch to a reputable custom RPC. Use a known provider such as Alchemy, Infura, QuickNode, or Ankr, or a verified configuration source.
7. Reconnect the wallet and refresh state. Let the claim page query the chain through the new endpoint.
8. Submit once and monitor. Avoid repeated submissions until you know whether the transaction broadcast and how the nonce is behaving.
9. Escalate only with evidence. If the custom RPC fails in the same way, the issue may be contract logic, eligibility, or project-side instability.
This sequence keeps the problem bounded. It also prevents the classic claim-window error: treating every failure as congestion and every retry as progress.
Common mistakes when changing RPC nodes
The configuration step is simple enough that people underestimate it. Most RPC-related errors are not sophisticated; they are small mistakes made under time pressure.
Using an untrusted RPC URL
A random endpoint from a chat room is not an infrastructure upgrade. It is an unknown counterparty. Even if it cannot directly sign transactions without your wallet approval, it can degrade reliability, log request metadata, and potentially interfere with what your wallet sees.
Use known providers, official documentation, or reputable verified directories. For claim wallets with meaningful expected value, operational hygiene is not optional.
Mixing up Chain IDs
The Chain ID prevents cross-chain confusion. If you enter the wrong Chain ID or accept a suspicious network configuration, MetaMask may reject it, or worse, you may believe you are on the correct network when you are not. Always match the Chain ID against the target chain’s official data.
Assuming private RPC means guaranteed settlement
A private endpoint improves access and propagation. It does not override blockspace economics. If gas spikes, validators or sequencers still prioritize transactions according to network rules. On some Layer 2s, sequencer behavior and congestion patterns can create delays even with a good RPC.
A better endpoint gives you cleaner execution. It does not give you privileged claim rights.
Retrying without checking nonce state
Multiple failed or pending attempts can create nonce congestion inside the wallet. A later transaction may be blocked behind an earlier pending one. If you see repeated pending claims, inspect the queue before sending more. Speeding up or canceling may be more rational than adding another transaction.
Ignoring the economics of the claim
Not every airdrop deserves premium infrastructure, aggressive gas, and hours of monitoring. Expected value matters. If the token is illiquid, allocation is tiny, or claim gas is high relative to the likely proceeds, the rational move may be to wait for congestion to drop.
Yield discipline applies to airdrops too. Gross token value is not net return. Net return is claim value minus gas, infrastructure cost, time, and execution risk.
The ROI view: when changing RPC nodes is worth it
The decision should be mechanical. Estimate the claim value, estimate the cost of failure, and choose the infrastructure level accordingly.
For a high-value retroactive distribution, I would prepare before the claim opens:
- Wallet funded with native gas on the correct chain.
- Verified custom RPC endpoint already added.
- Backup endpoint from a second reputable provider.
- Official claim link bookmarked from trusted project channels.
- Block explorer open for the target chain.
- No pending nonce clutter in the wallet.
- Hardware wallet or signer ready if used.
For a low-value or uncertain claim, the default setup may be acceptable, but I would still avoid congested public RPCs if failures start appearing. The moment gas estimation becomes inconsistent, switching endpoints is a rational first intervention.
The strict calculation is this: if the expected value of the allocation is larger than the combined cost of gas, provider access, and operational time, then improving RPC reliability has positive expected ROI. If the allocation is marginal, do not let the claim process turn into a negative-yield trade.
Custom RPC nodes are not a magic fix. They are plumbing. But in airdrop execution, plumbing is part of the trade. Public endpoints can buckle under claim traffic; private or dedicated RPCs can restore clean reads, better gas estimation, and more reliable transaction broadcast. Use them deliberately, verify the network parameters, and keep the diagnosis sharp: infrastructure congestion is solvable, ineligibility is not.